Slide Angle Adjustments II
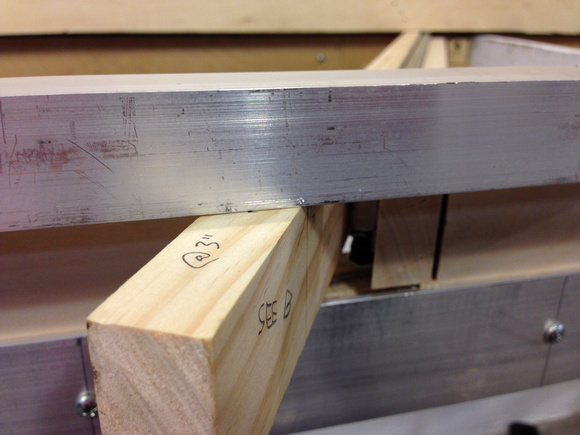
I had a four foot section of aluminum square tubing on hand for another project that I found was perfect for transferring measurements.
First, I marked a home point with an automatic center punch and lined that up with the edge of the traveller (close to the wall) of the right most slide assembly.
I made another mark on the tubing where it crossed over the next traveller to the left, while making sure that the tubing was still parallel to the wall.
I then transferred that measurement to the front of the two assemblies (again, making sure the tubing was parallel to the wall) and made any needed adjustments.
Once the second assemblies position was established, I repeated the process daisy chain style all the way to the left most slide assembly.
In one case, the initial angle of the slide assembly was off by enough that I had to reposition the rear about a quarter inch to the right. The remaining adjustments were minor tweaks at the aisle-side end that fit within the widened slots (as described in the last photo)